Log in

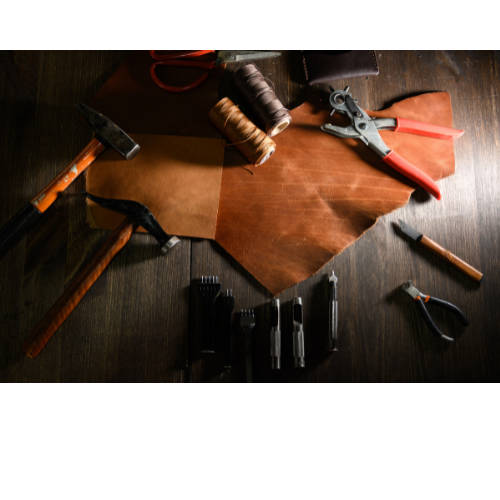
Step-by-Step Instructions for Repairing Leather:
**Step 1: Identify Your Leather Type**
Before you start the repair process, identify the type of leather you have. You can refer to the Leather Identification Manual for assistance if needed.
**Step 2: Color Loss / Wear / Fading**
Regardless of the leather finish, colors may fade over time. To restore the color coating, follow these steps based on your leather type:
**For Protected/Top-Coated Leather:**
1. Clean and prep the area to be re-colored. Remove body oils using Leather Master Leather Degreaser.
2. Fill surface scratches, scuffs, or cracks with Leather World Finish Filler for fine scratches or Leather World Base Coat for deeper scratches.
3. Apply Leather World Dye Colorant in light coats, allowing ample dry time between each coat (2-4 coats).
4. Optionally, apply Leather World Top Coat for improved feel and extra protection.
5. Finish by applying Leather Protection Cream to protect from general soiling during regular maintenance.
**For Aniline Leather:**
1. Clean the leather thoroughly and remove body oils with Leather Master Leather Degreaser.
2. Apply Leather Hydrating Cream to restore moisture to the leather.
3. Wipe light coats of Aniline Leather Dye, allowing each coat to dry fully before applying the next.
4. Re-hydrate the leather with more Leather World Hydrating Cream.
5. Optionally, apply Leather Protection Cream for added protection.
**For Nubuck Leather:**
Follow the same steps as for Aniline Leather, and after re-coloring, use Nubuck cloths or a Nubuck sponge/brush to work the nap back up on the leather's finish.
Apply Nubuck Leather Protector to protect the re-colored area.
**Step 3: Leather Cuts**
For small cuts in Aniline and Protected/Pigmented Leather:
1. Use Leather Adhesive or Leather Filler.
2. If slightly visible lines remain after the glue has dried, apply Leather Protection Cream to soften the topcoat and hide the repair.
3. For rough areas, use a 50-50 mix of Leather Filler and Leather Dye over the area.
For Nubuck/Suede Leather:
1. After the glue has dried, use a Nubuck cloth or sponge to brush up the surface.
**Step 4: Leather Scrapes & Scuffs**
For Aniline Leather:
1. Use a hair dryer to heat the area while massaging it to blend the color and remove the scuff.
2. Apply Leather Protection Cream over the area.
3. If still noticeable, use Leather Master Scratch Away designed for Aniline Leather.
For Pigmented Leather:
1. Minor scrapes can be removed with Leather Protection Cream.
2. Medium and large scrapes may require Leather Filler and Leather Dye to blend in.
3. Use Leather World Finish Filler for fine scratches or Leather World Base Coat for deeper scratches before applying Leather Dye.
For Nubuck Leather:
1. Use a Nubuck cloth to blend in the scrape as best as possible.
2. If the scrape remains visible, treat it like an Aniline Leather Repair.
**Step 5: Burns, Rips & Tears**
1. Prep the area by scraping off any burned edges and cutting off rough or frayed particles.
2. Install a sub-patch if necessary and use Leather Filler to level the hole (several light coats, dried between each coat).
3. Once the leather repair is level, apply Leather Dye to the area.
By following these step-by-step instructions, you can easily repair and re-color your leather, whether it's Aniline, Protected/Top-Coated, or Nubuck Leather. If you have any questions or need assistance, don't hesitate to contact us.